Quick Start
This board reads temperature, relative humidity and pressure over I2C. Connect it, install the library, and run its example to see all the readings on your computer. Both an Arduino library and a MicroPython module exist for this board, so pick the tab that matches your controller.
You program the controller connected to this breakout. The breakout itself is not flashed.
- Arduino
- MicroPython
1. Connect the breakout board
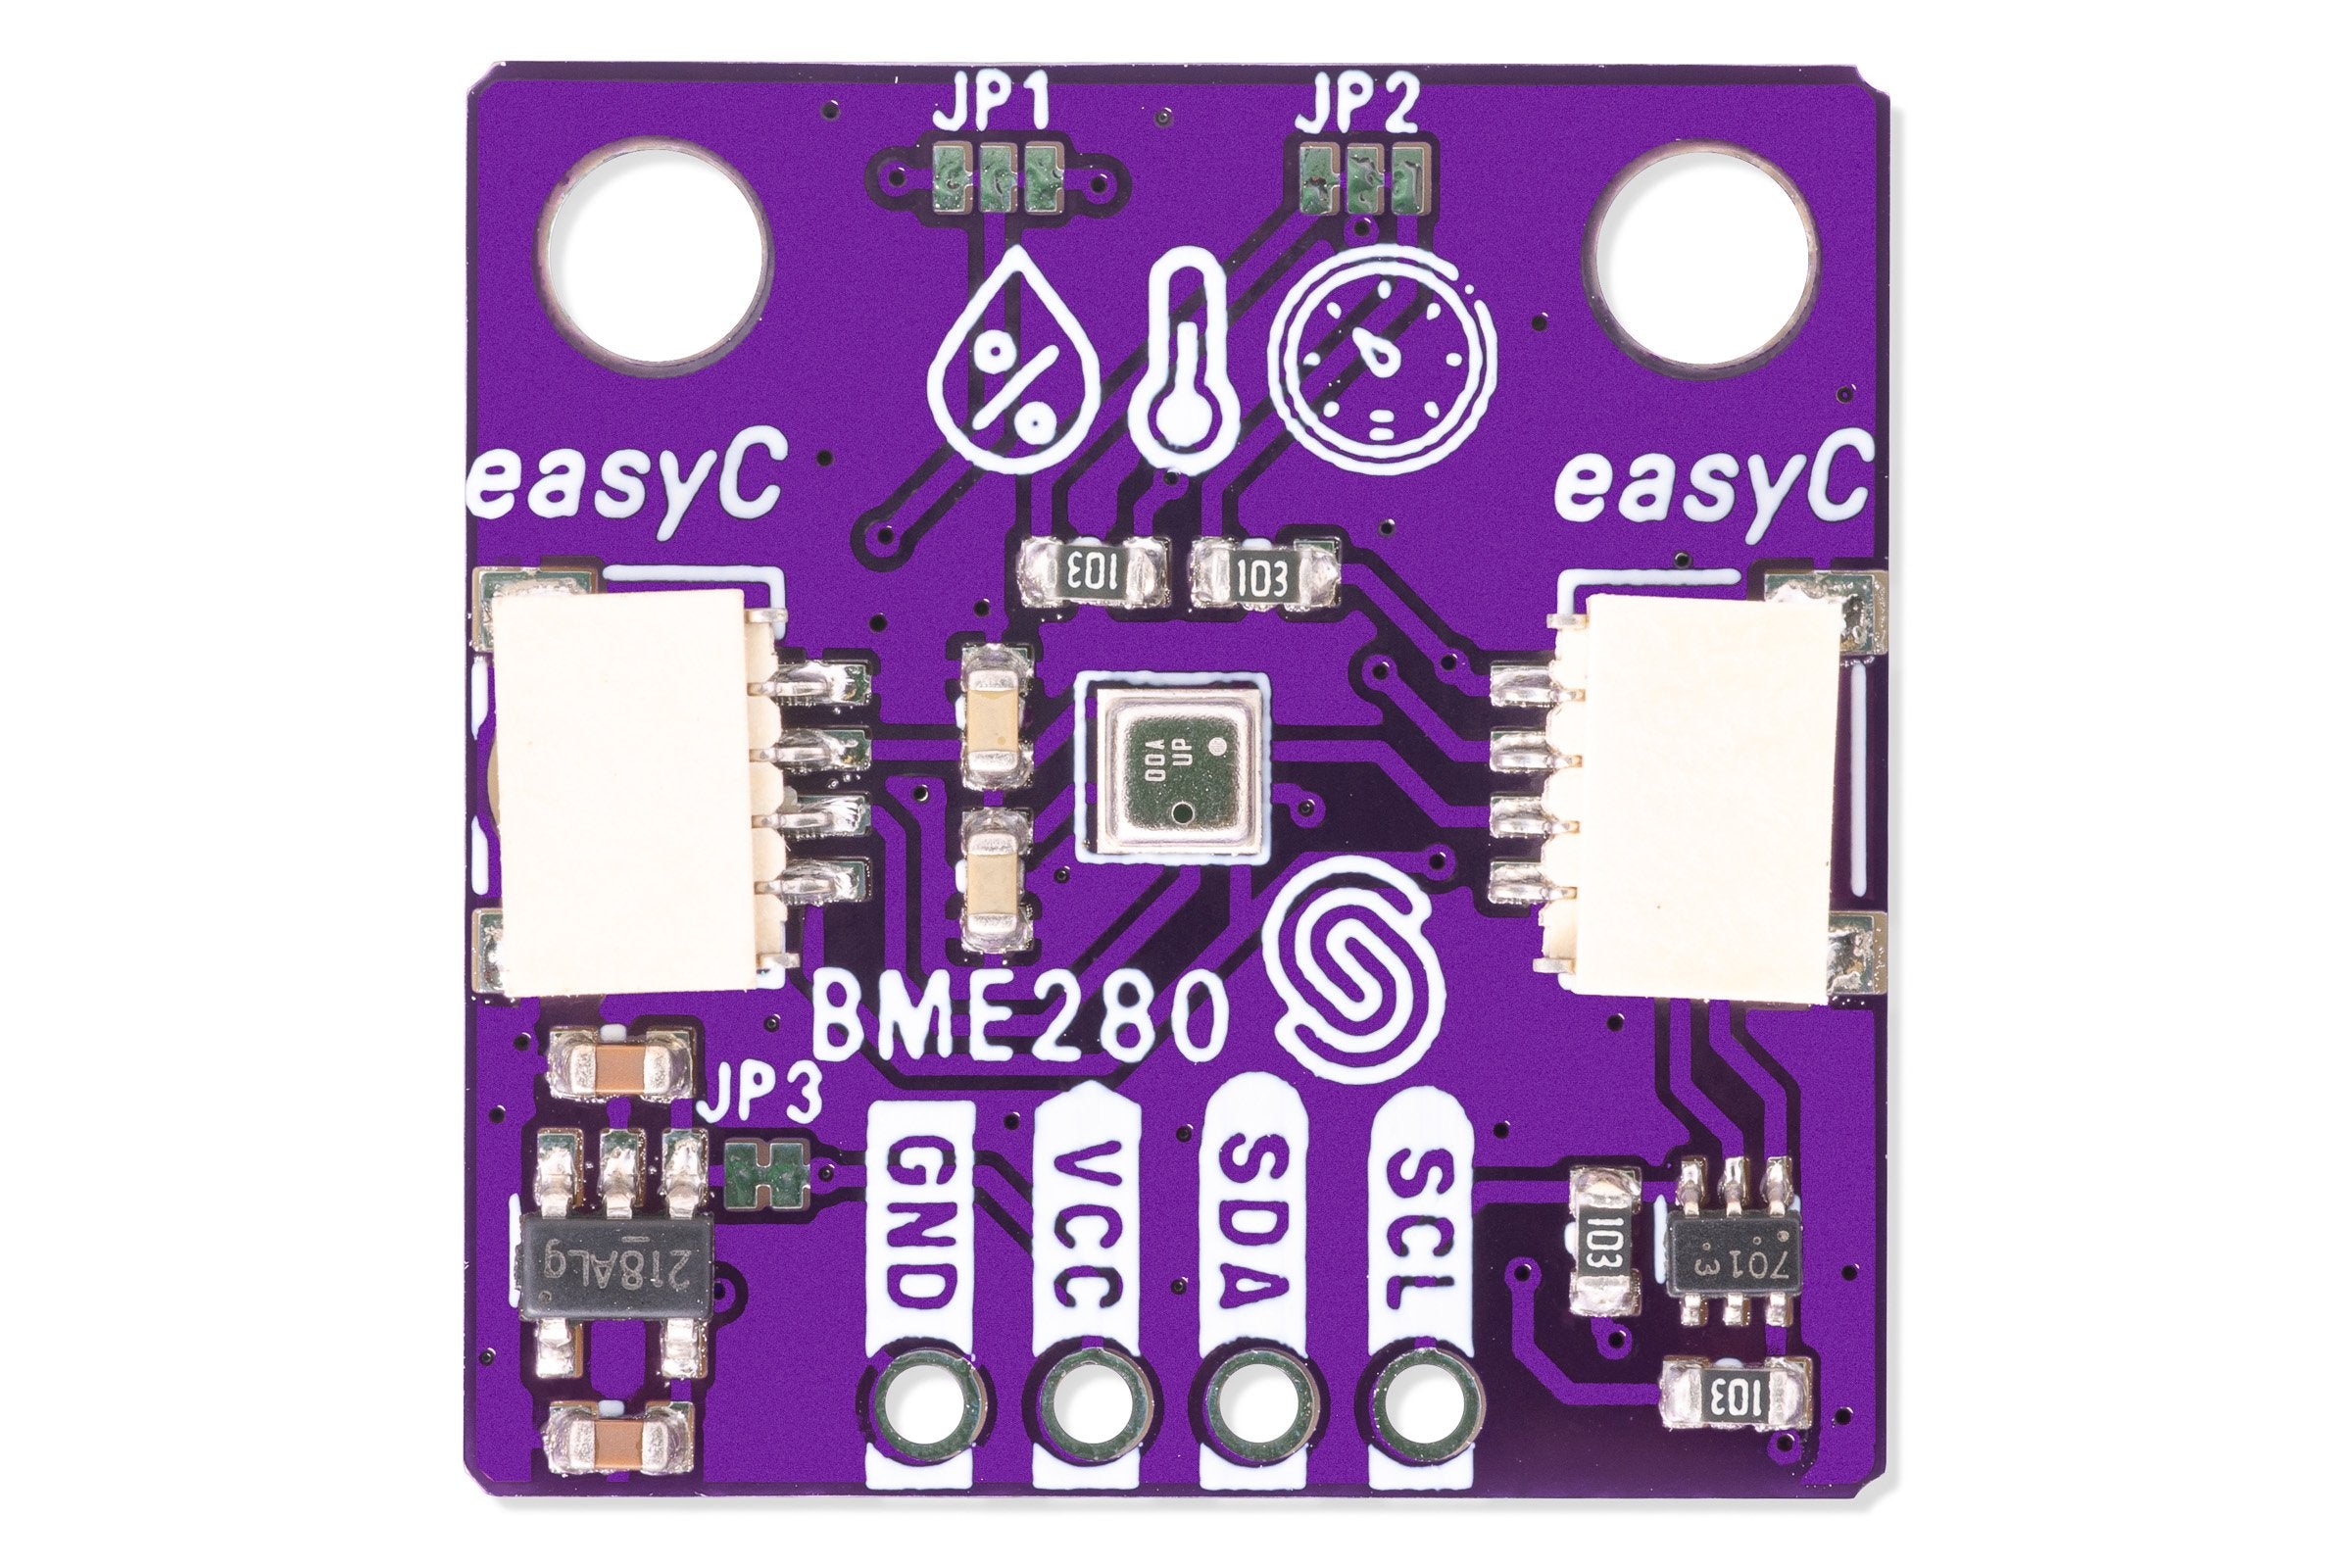
Plug a Qwiic cable into either Qwiic connector on the board and into the matching connector on your controller. No soldering needed, and the second Qwiic connector stays free for chaining another Qwiic board.
| Controller | Environmental Sensor BME280 Breakout |
|---|---|
| Qwiic connector | Either Qwiic connector |
Without Qwiic: breadboard wiring
If your controller has no Qwiic connector, solder the included header pins and wire the board to its I2C pins instead:
| Controller | Environmental Sensor BME280 Breakout |
|---|---|
| I2C data (SDA) | SDA |
| I2C clock (SCL) | SCL |
| 3.3 V or 5 V | VCC |
| GND | GND |
The header works with both 3.3 V and 5 V controllers: a regulator on the board makes 3.3 V for the sensor, and a level shifter translates the two I2C lines.
2. Install the library
Open the Arduino IDE Library Manager, search for BME280, and install Soldered's BME280 and BME680 library. You can also download it from the source below.
🔗Soldered BME280 and BME680 Arduino library
Verified Arduino library at commit 64eae4d
Tip: downloading from GitHub. On the library's GitHub page, click the green Code button and choose Download ZIP, then add it in Arduino IDE with Sketch → Include Library → Add .ZIP Library....
3. Run the first example
This is BME280_Read_All_Values.ino, the library's own example for this board.
It prints every reading the sensor offers, first one value at a time and then
all of them from a single measurement, once a second.
#include "BME280-SOLDERED.h"

// Declare your sensors here
BME280 bme280;

void setup()
{
    // Initialize the sensors
    Serial.begin(115200);

    // Initialize the sensors
    bme280.begin();
}

void loop() // Temperature is not factory calibrated, you can add offset to it
{
    float offset = 0; // offset in °C

    Serial.println("Reading one by one: ");

    float temperature = bme280.readTemperature() + offset;
    Serial.print("Temperature: ");
    Serial.println(temperature);

    float humidity = bme280.readHumidity();
    Serial.print("Humidity: ");
    Serial.println(humidity);

    float pressure = bme280.readPressure();
    Serial.print("Pressure: ");
    Serial.println(pressure);

    float altitude = bme280.readAltitude();
    Serial.print("Altitude: ");
    Serial.println(altitude);

    delay(1000);

    Serial.println("\nReading all at once: ");

    float temperature2, humidity2, pressure2;
    bme280.readSensorData(temperature2, humidity2, pressure2);

    Serial.print("Temperature: " + String(temperature2 + offset) + " C");
    Serial.println();

    Serial.print("Humidity: " + String(humidity2) + " %");
    Serial.println();

    Serial.print("Pressure: " + String(pressure2) + " hPa");
    Serial.println();

    // We need to caluclate altitude from pressure and sea level pressure
    float altitude2 = bme280.calculateAltitude(pressure2);

    Serial.print("Altitude: " + String(altitude2) + " m");
    Serial.println();
    Serial.println();
}
4. Check the result
Open the Serial Monitor at 115200 baud. About once a second you see a block like this:
Reading one by one:
Temperature: 23.30
Humidity: 46.00
Pressure: 1002.40
Altitude: 90.73

Reading all at once:
Temperature: 23.30 C
Humidity: 46.00 %
Pressure: 1002.38 hPa
Altitude: 90.90 m
The first four lines print the bare numbers, the second four add their units, and the block repeats about once a second. The labels are the example's own, so the shape is exact. The numbers are an illustrative sample for Osijek, Croatia: about 23 °C, 46 % relative humidity and 1002.4 hPa. Against the library's 1013.25 hPa reference that pressure works out to about 90 m, close to Osijek's own elevation. Your readings depend on your room and the weather.
5. If it does not work
Continue with Troubleshooting and retry this smallest example after each change.
1. Connect the breakout board
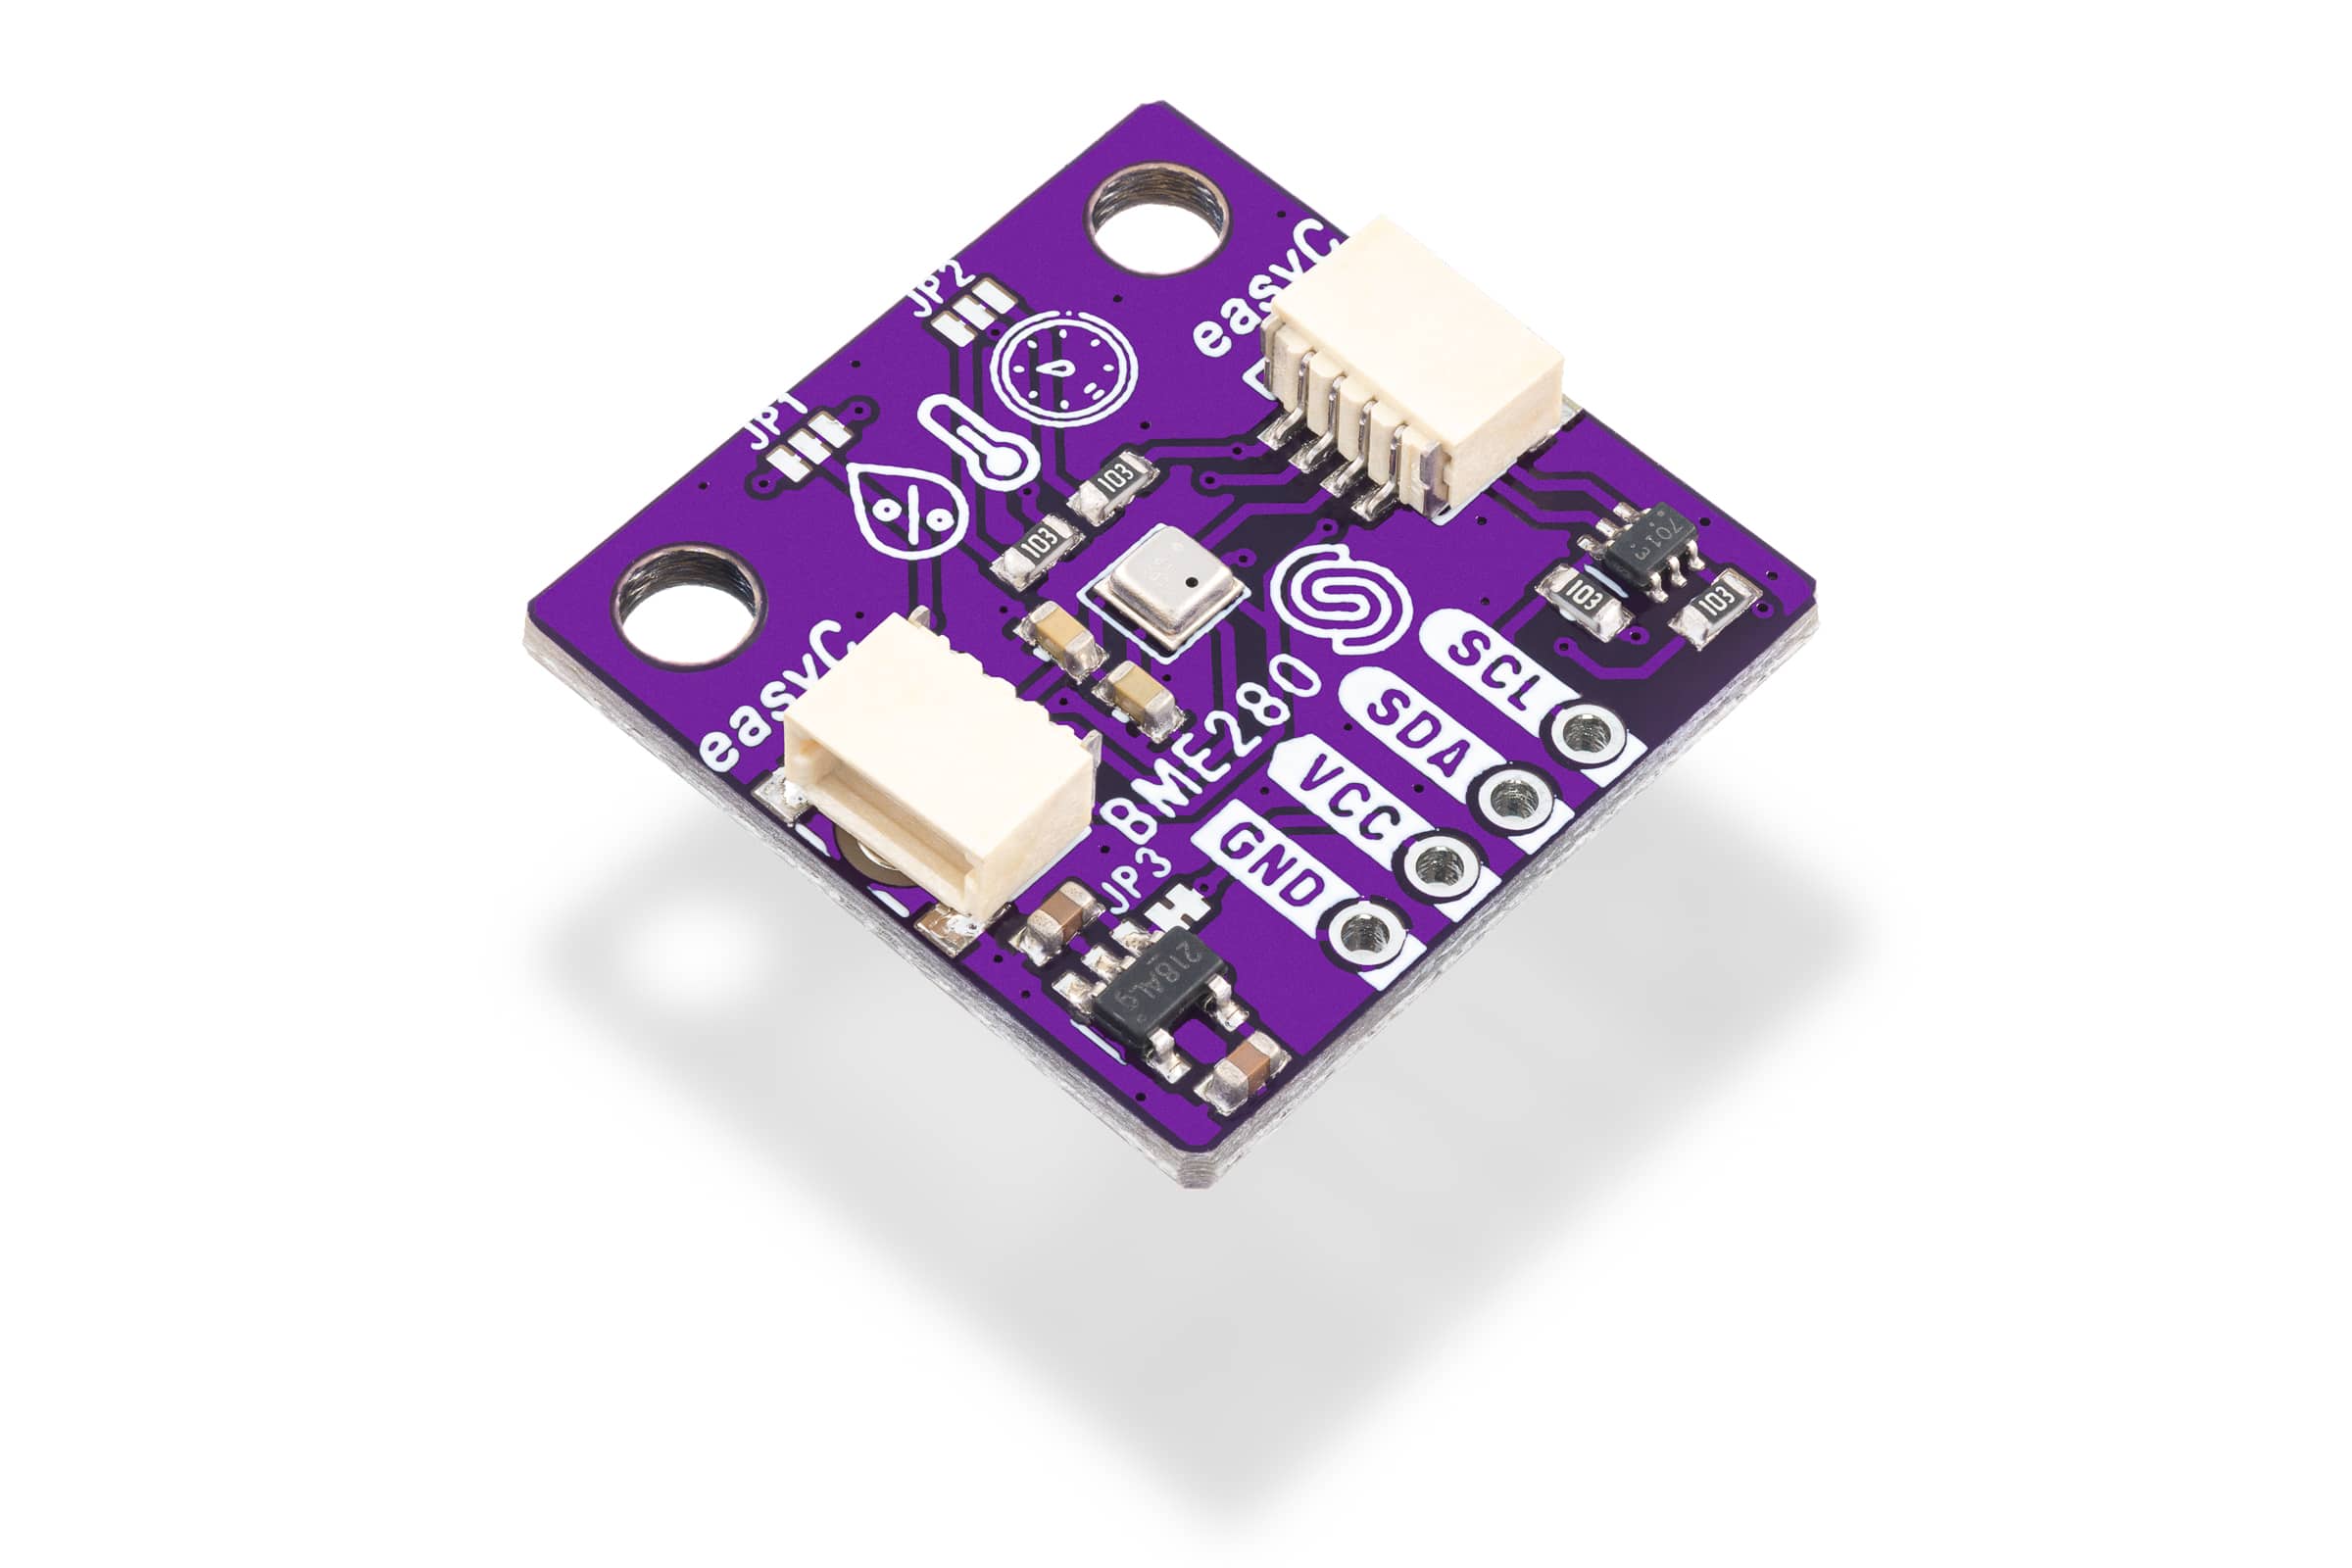
Plug a Qwiic cable into either Qwiic connector on the board and into the matching connector on your controller, exactly as in the Arduino tab.
| Controller | Environmental Sensor BME280 Breakout |
|---|---|
| Qwiic connector | Either Qwiic connector |
Without Qwiic: breadboard wiring
Wire the header pins as in the Arduino tab:
| Controller | Environmental Sensor BME280 Breakout |
|---|---|
| I2C data (SDA) | SDA |
| I2C clock (SCL) | SCL |
| 3.3 V or 5 V | VCC |
| GND | GND |
The module already knows the ESP32 and ESP8266 pin numbers (SCL on GPIO22, SDA on GPIO21) and uses them when you create the sensor with no arguments. On any other board, create your own I2C object and pass it in:
i2c = I2C(0, scl=Pin(22), sda=Pin(21))
bme280 = BME280(i2c)
That is also the route if you want a different I2C bus or different pins.
2. Install the module
Install Soldered BME280 MicroPython Library with mpremote, using the
command from the module's own README:
mpremote mip install github:SolderedElectronics/Soldered-BME280-MicroPython-Library
On Windows:
python -m mpremote mip install github:SolderedElectronics/Soldered-BME280-MicroPython-Library
🔗Soldered BME280 MicroPython Library
Verified MicroPython module at commit ea39509
Tip: downloading from GitHub. Without mpremote, open the module's .py
file on GitHub and click Download raw file, then open it in Thonny and use
File → Save as... → MicroPython device to copy it onto the board.
3. Run the first example
This is bme280-allValues.py, the module's own example, and its header names
this board. It reads all three measurements, turns the pressure into an altitude
and repeats every 5 seconds. Save it to your board and run it.
# FILE: bme280-allValues.py
# AUTHOR: Josip Šimun Kuči @ Soldered
# BRIEF: An example for the BME280 sensor that reads temperature, humidity,
#        pressure and calculates the altitude using the pressure measurement
# WORKS WITH: Enviromental sensor BME280 breakout: www.solde.red/333036
# LAST UPDATED: 2025-05-23
from machine import Pin, I2C
from bme280 import BME280
import time

# If you aren't using the Qwiic connector, manually enter your I2C pins
# i2c = I2C(0, scl=Pin(22), sda=Pin(21))
# bme280 = BME280(i2c)

# Initialize sensor over Qwiic
bme280 = BME280()

# Infinite loop
while 1:
    # Read the temperature, humidity and pressure values and store them in their respective variables
    temp, pres, hum = bme280.readAllValues()
    # Calculate the altitude using the pressure read by the sensor
    altitude = bme280.calculateAltitude()

    # Print the measured values, each in their own line
    print("Temperature: {:.2f} °C".format(temp))
    print("Pressure: {:.2f} hPa".format(pres))
    print("Humidity: {:.2f} %".format(hum))
    print("Altitude: {:.2f} m".format(altitude))

    # Pause for 5 seconds
    time.sleep(5.0)
4. Check the result
The module prints four lines every 5 seconds in the Thonny shell or the serial console:
Temperature: 23.30 °C
Pressure: 1002.40 hPa
Humidity: 46.00 %
Altitude: 90.73 m
Each line is one of the example's own print() calls with the value to two
decimals, so the shape is exact. The numbers are an illustrative sample for
Osijek, Croatia: about 23 °C, 46 % relative humidity and 1002.4 hPa. Against the
library's 1013.25 hPa reference that pressure works out to about 90 m, close to
Osijek's own elevation. Your readings depend on your room and the weather.
5. If it does not work
Continue with Troubleshooting and retry this smallest example after each change.